

The Pivot
You are unauthorized to view this page.
MODULE 54
You are unauthorized to view this page.
MODULE 53
You are unauthorized to view this page.

by musictech | Apr 4, 2023 | CHORD STUDIES, SCALE STUDIES
You are unauthorized to view this page.
by musictech | Apr 4, 2023 | ELEMENTS OF STYLE
You are unauthorized to view this page.


by musictech | Mar 6, 2023 | VOICE LEADING
You are unauthorized to view this page. Hip Licks for Trumpet iPhone / iPad App
$13.99
 Jazz Studios designer T-Shirt (Size XX-Large)
$24.95
 Jazz Studios designer T-Shirt (Size X-Large)
$24.95
 Jazz Studios designer T-Shirt (Size Large)
$24.95
 Hip Licks for Guitar iPhone / iPad App
$13.99
 Jazz Studios designer T-Shirt (Size Small)
$24.95
 Hip Licks for Alto Sax Vol 2 iPhone / iPad App
$12.99
 Hip Licks for Tenor Sax Vol 2 iPhone / iPad App
$12.99
 Hip Licks for Tenor Sax Vol 1 iPhone / iPad App
$12.99
 Hip Licks for Alto Sax Vol 1 iPhone / iPad App
$12.99
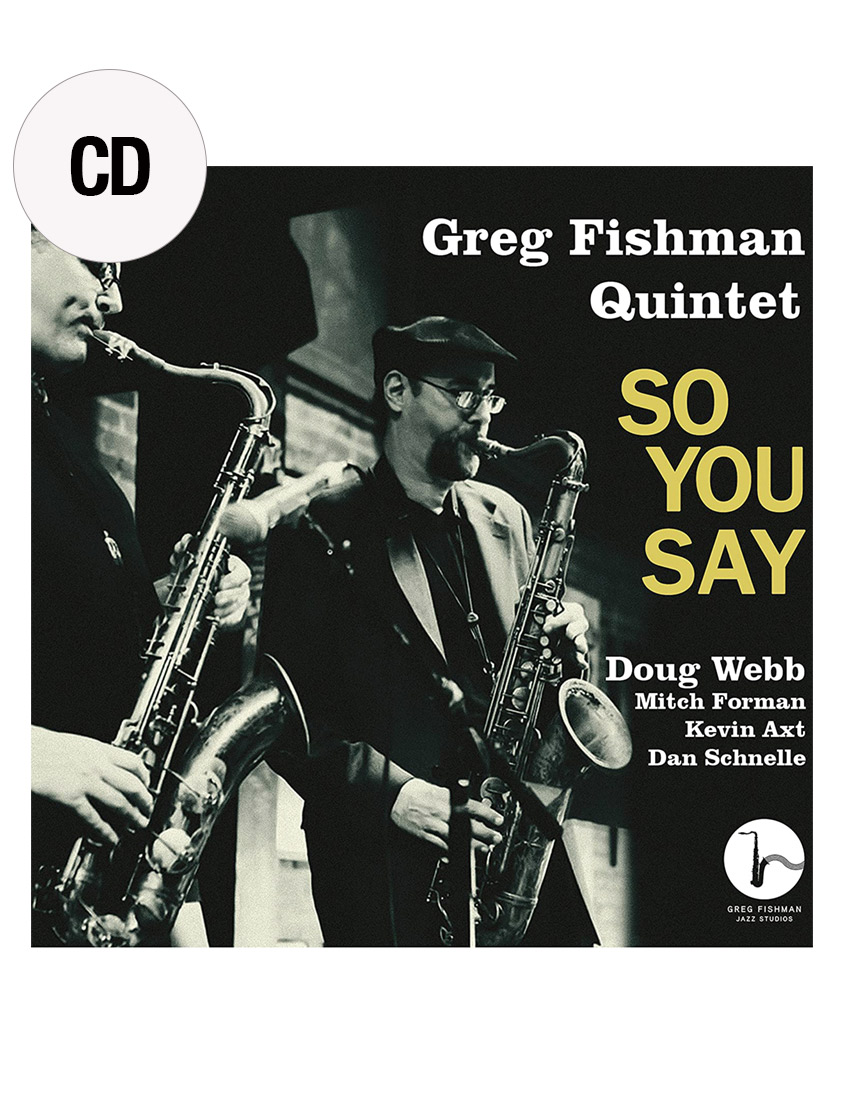 So You Say
$14.95
 10 Skype Lesson Pack
$1,100.00
 5 Skype Lesson Pack
 3 Skype Lesson Pack
$360.00
 1 hour Skype Lesson
 Jazz Studios designer T-Shirt (Size medium)
$24.95
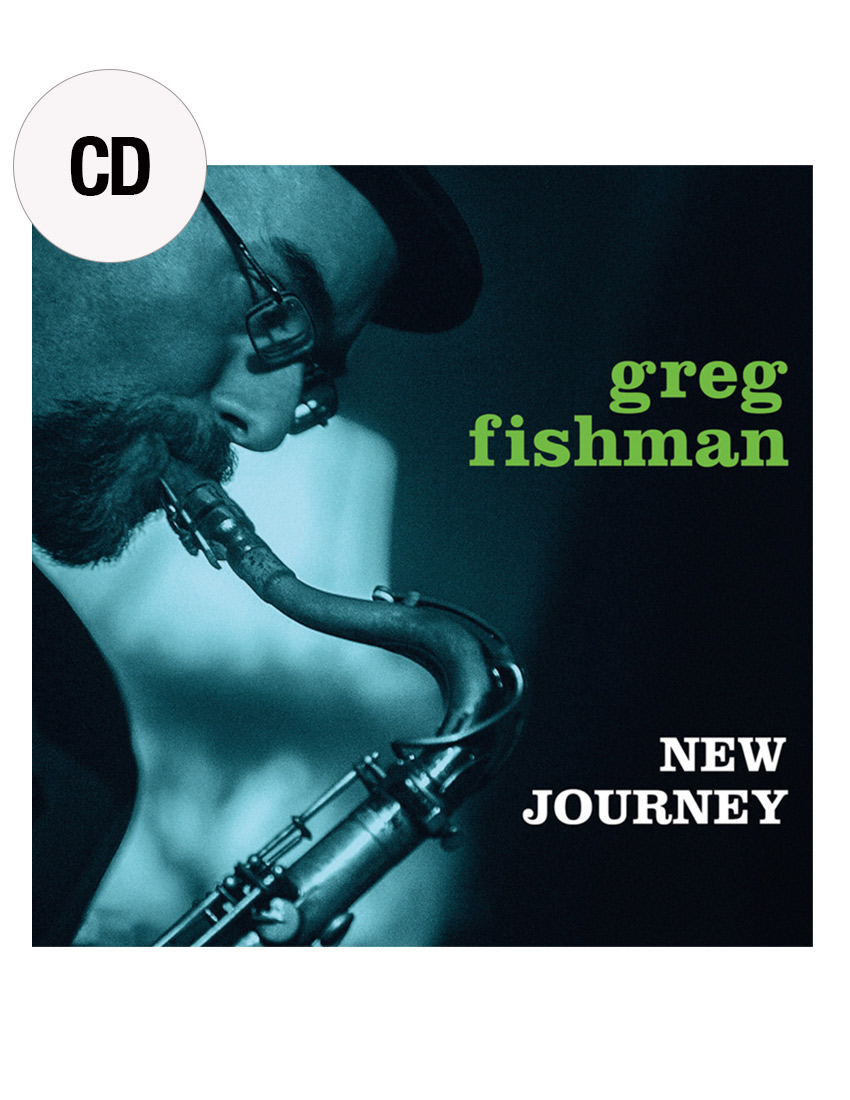 New Journey
$16.95
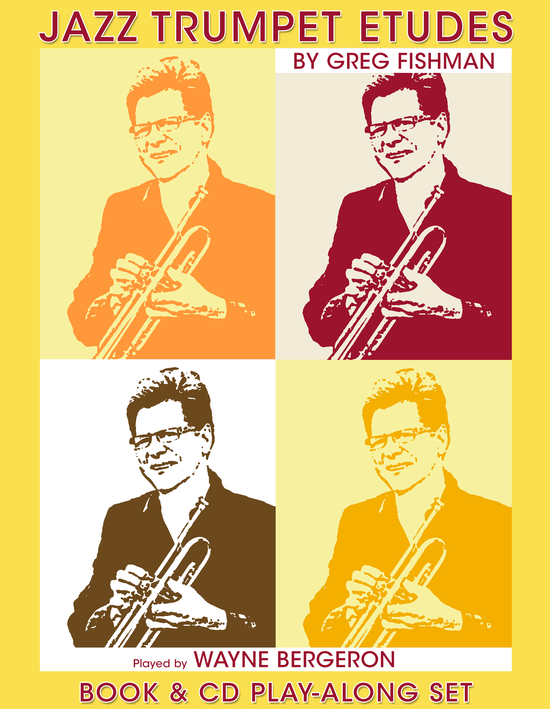 Jazz Trumpet Etudes
$24.95
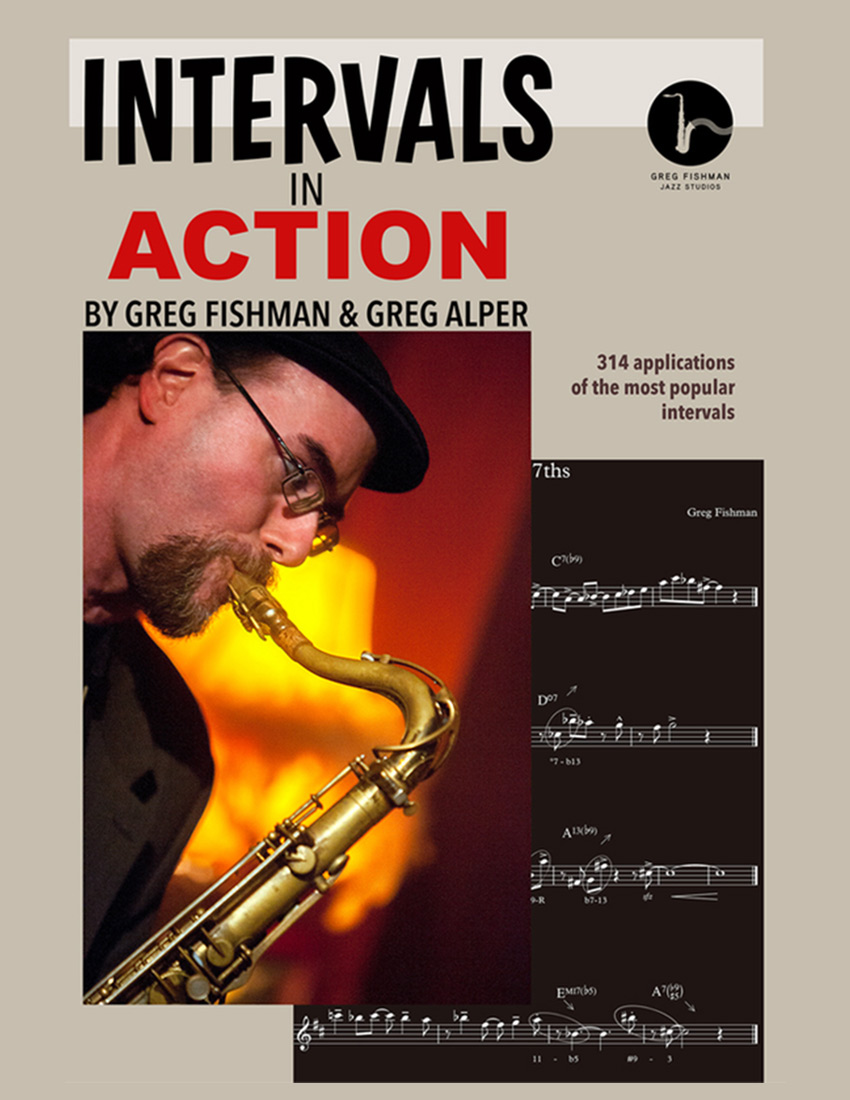 Intervals in Action
$24.95
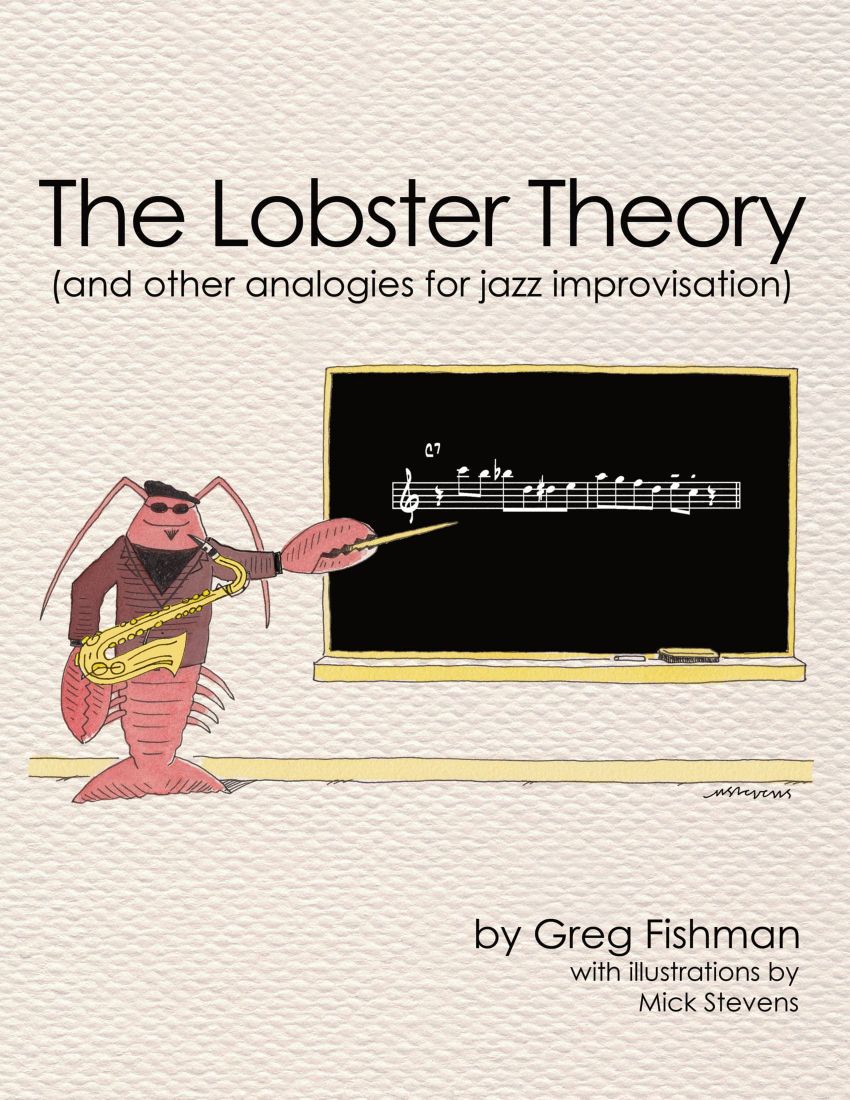 The Lobster Theory (and other analogies for jazz improvisation)
$29.95
LESSON 1: The Pivot
In this video lesson, I use Hip Lick #1 to demonstrate an essential device for creating many variations from a very small amount of musical material.
This device is commonly known as “The Pivot.” The pivot involves the use of octave displacement applied to one or more notes in a phrase. I call this concept “high mileage,” because you get so much more from each musical idea when you apply the pivot.
Sometimes the pivot is used to simply modify a phrase in order to make it fit within the range of an instrument. Other times, the pivot is used simply to the benefit of musical variety with the same group of notes in a phrase. Includes detailed PDF practice notes for Bb, Eb and C instruments.
LESSON 2: Neighboring Diatonic Seventh Chord/Scale System (Parts 1, 2, 3 and 4)
In this series of four video lessons, I share a new system that I have developed for the creation of scales. The system uses two neighboring diatonic seventh chords to create any mode of any scale.
In the first three videos, I demonstrate the system using the vibraphone, for both the visual presentation of the instrument, as well as the fact that I can let the notes ring into each other, providing a combined sound of all notes from both chords.
In part 4, I demonstrate the system on tenor saxophone.
This is a completely different approach to scale construction, and it’s fantastic for ear training, as it gives your ear an overview of the sound of the scale with the chord arpeggios.
In addition, I break down the system to groupings of four notes, six notes, and eight notes, which provides not only a graduated system for your ear to absorb the sounds but also gives you incredible fluency of technique.
Part 1: Overview and explanation of the system.
Part 2: How to practice with the system to create the major scale.
Part 3: Chord combination formulas for all modes of the major scale system.
Part 4: Demonstration of the system on tenor saxophone.
Includes detailed PDF practice notes for Bb, Eb and C instruments. Also includes PDF with chord formulas for both major and melodic minor modes.
LESSON 3: Continuous Tone – Keeping the Air Moving
In this video lesson, I share a strategy that has helped so many aspiring students struggling with playing their chords in a smooth way. Many students tend to stop blowing whenever they are unsure of the next note in a chord to play. When working with one of my skype students, this approach immediately made him sound smoother and more expressive.
LESSON 1: Creating a Melody from Four Voice Leading Lines – Part 1 of 2
In this video lesson, I present a visual system, using common chord shapes as upper extensions, to create beautiful melodies using four voice leading lines.
A unique feature of this video lesson is the way in which I demonstrate the concept with written notes, explaining the theory behind the concept as I create the written notes. Be sure to have blank paper and a pencil handy so you can follow along and create your own notes as you watch the video. Copy everything that I write onto your own page of notes.
I have included my note page as a PDF, but I recommend that you take your own notes…it will stay fresher in your own memory if you write out the notes as you watch me explaining the concepts.
LESSON 2: Creating a Melody from Four Voice Leading Lines – Part 2 of 2
In this video lesson, I play my tenor to demonstrate a wide variety of melodic lines derived from the written notes created in part 1 of this lesson.
It is really exciting to hear the written notes come to musical life as I play the chord structures and relate them to the underlying bass notes of the ii V I chord progression.
I explain my melodic choices and share some key strategies that I use to ensure smooth transitions from one chord to the next.
LESSON 3: The 4-3-2-1 System for Technical Fluency
In this video lesson, I share my practice system to gain technical fluency over any musical material that you want to play in all twelve keys.
The system improves your technique through repetition of the musical phrase, but it will also improve your ability to focus your concentration, keeping track of how many times you’ve played each phrase before you move on to the new key.
I use Hip Lick #1 for the playing example in the lesson, but you can apply this concept to any musical phrase.
LESSON 4: Slowing Down Recorded Performances
In this video lesson, I share my thoughts about aspiring players slowing down recorded performances.
I got the idea for the video when a student contacted me to ask if I could create my next iPad app so that it would slow my performance down to just 30% of full speed (the current version of the app slows to 60% of speed).
Although I am a fan of practicing slowly with a metronome and working things up to tempo, I’m not really a huge fan of slowing down recorded performances.
In this video, I explain why I think that it can actually have a negative effect on your development if you’re always listening to “slowed-down” recordings.