

How to Hear Melodies in Harmonic Context
You are unauthorized to view this page.
MODULE 56
You are unauthorized to view this page.
MODULE 55
You are unauthorized to view this page.
Continuous Tone – Keeping the Air Moving
You are unauthorized to view this page.Products
-
 Hip Licks for Trumpet iPhone / iPad App
$13.99
Hip Licks for Trumpet iPhone / iPad App
$13.99
-
 Jazz Studios designer T-Shirt (Size XX-Large)
$24.95
Jazz Studios designer T-Shirt (Size XX-Large)
$24.95
-
Jazz Studios designer T-Shirt (Size X-Large)
$24.95
-
Jazz Studios designer T-Shirt (Size Large)
$24.95
-
 Hip Licks for Guitar iPhone / iPad App
$13.99
Hip Licks for Guitar iPhone / iPad App
$13.99
-
Jazz Studios designer T-Shirt (Size Small)
$24.95
-
 Hip Licks for Alto Sax Vol 2 iPhone / iPad App
$12.99
Hip Licks for Alto Sax Vol 2 iPhone / iPad App
$12.99
-
 Hip Licks for Tenor Sax Vol 2 iPhone / iPad App
$12.99
Hip Licks for Tenor Sax Vol 2 iPhone / iPad App
$12.99
-
 Hip Licks for Tenor Sax Vol 1 iPhone / iPad App
$12.99
Hip Licks for Tenor Sax Vol 1 iPhone / iPad App
$12.99
-
 Hip Licks for Alto Sax Vol 1 iPhone / iPad App
$12.99
Hip Licks for Alto Sax Vol 1 iPhone / iPad App
$12.99
-
 So You Say
$14.95
So You Say
$14.95
-
 10 Skype Lesson Pack
$1,100.00
10 Skype Lesson Pack
$1,100.00
-
 5 Skype Lesson Pack
$575.00
5 Skype Lesson Pack
$575.00
-
 3 Skype Lesson Pack
$360.00
3 Skype Lesson Pack
$360.00
-
 1 hour Skype Lesson
$125.00
1 hour Skype Lesson
$125.00
-
Jazz Studios designer T-Shirt (Size medium)
$24.95
-
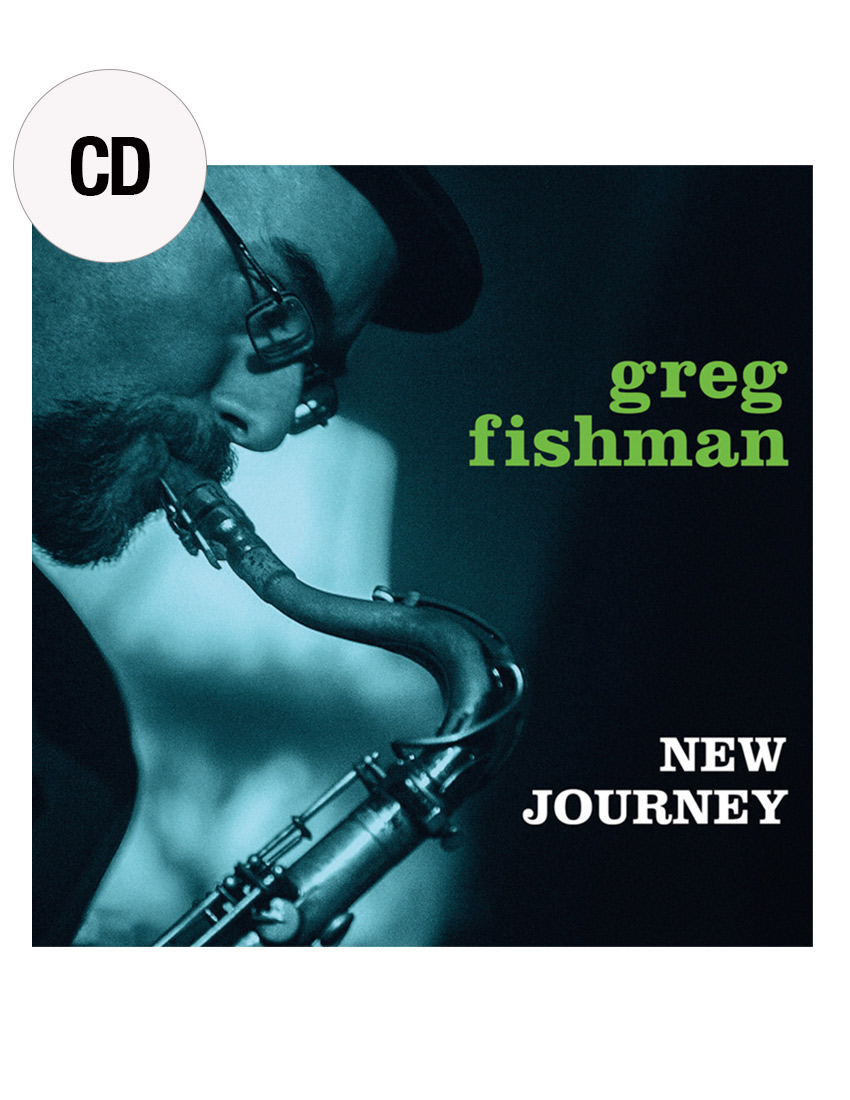 New Journey
$16.95
New Journey
$16.95
-
 Jazz Trumpet Etudes
$24.95
Jazz Trumpet Etudes
$24.95
-
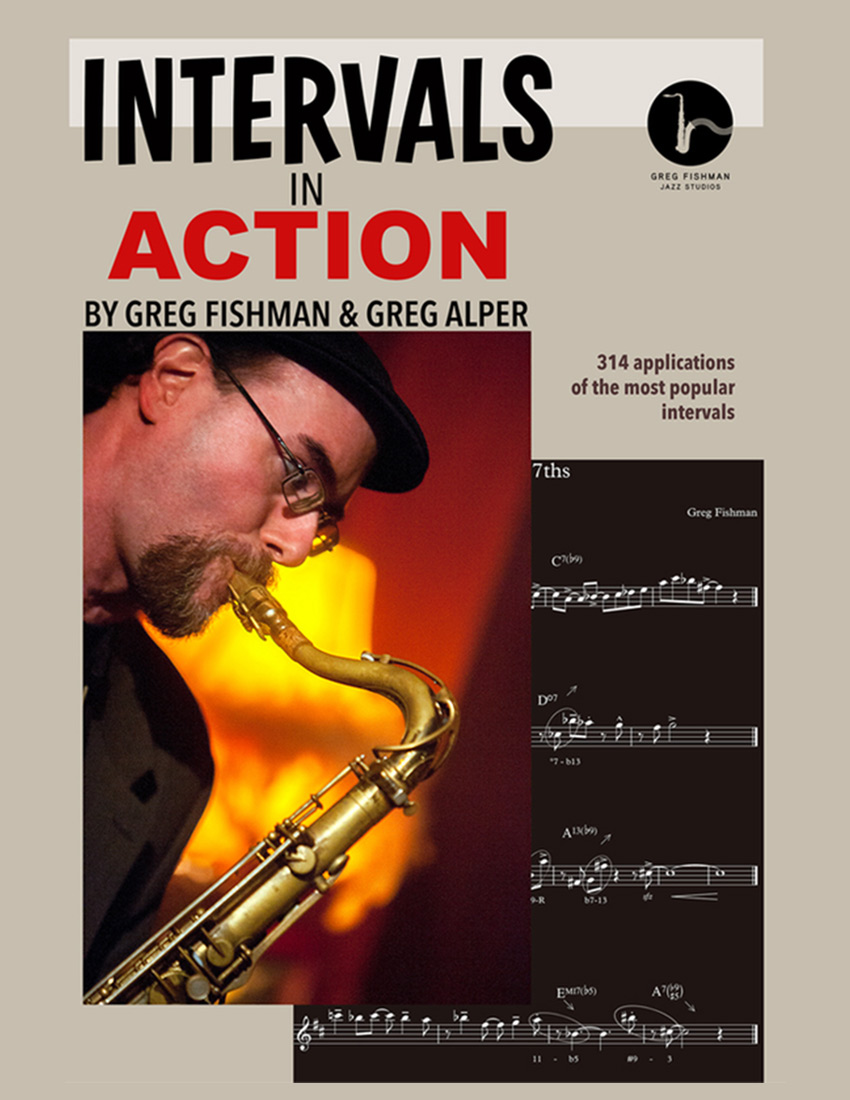 Intervals in Action
$24.95
Intervals in Action
$24.95
-
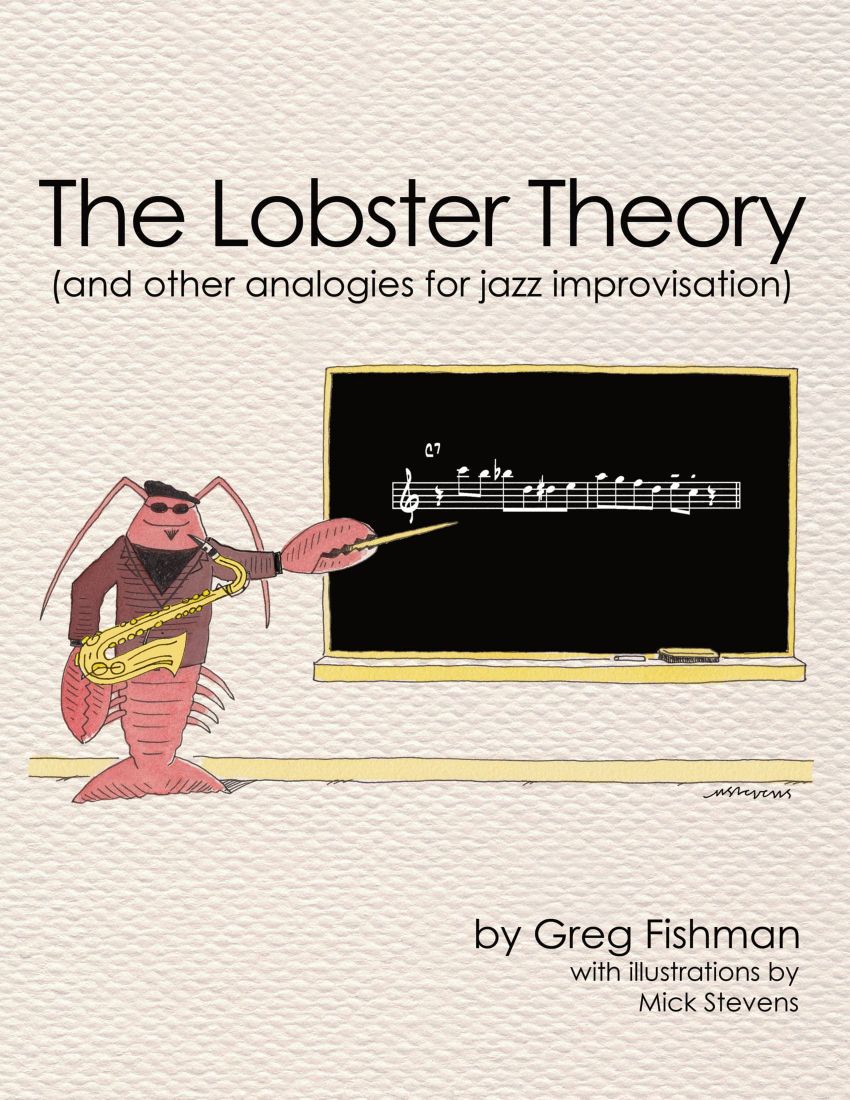 The Lobster Theory (and other analogies for jazz improvisation)
$29.95
The Lobster Theory (and other analogies for jazz improvisation)
$29.95