

The Surfer Analogy & Thinking in Reverse
You are unauthorized to view this page.
The High Tide Approach to Scale Practice
You are unauthorized to view this page.
Creating a melody from Three Voice Leading Lines
You are unauthorized to view this page.
MODULE 50
You are unauthorized to view this page.Products
-
 Hip Licks for Trumpet iPhone / iPad App
$13.99
Hip Licks for Trumpet iPhone / iPad App
$13.99
-
 Jazz Studios designer T-Shirt (Size XX-Large)
$24.95
Jazz Studios designer T-Shirt (Size XX-Large)
$24.95
-
Jazz Studios designer T-Shirt (Size X-Large)
$24.95
-
Jazz Studios designer T-Shirt (Size Large)
$24.95
-
 Hip Licks for Guitar iPhone / iPad App
$13.99
Hip Licks for Guitar iPhone / iPad App
$13.99
-
Jazz Studios designer T-Shirt (Size Small)
$24.95
-
 Hip Licks for Alto Sax Vol 2 iPhone / iPad App
$12.99
Hip Licks for Alto Sax Vol 2 iPhone / iPad App
$12.99
-
 Hip Licks for Tenor Sax Vol 2 iPhone / iPad App
$12.99
Hip Licks for Tenor Sax Vol 2 iPhone / iPad App
$12.99
-
 Hip Licks for Tenor Sax Vol 1 iPhone / iPad App
$12.99
Hip Licks for Tenor Sax Vol 1 iPhone / iPad App
$12.99
-
 Hip Licks for Alto Sax Vol 1 iPhone / iPad App
$12.99
Hip Licks for Alto Sax Vol 1 iPhone / iPad App
$12.99
-
 So You Say
$14.95
So You Say
$14.95
-
 10 Skype Lesson Pack
$1,100.00
10 Skype Lesson Pack
$1,100.00
-
 5 Skype Lesson Pack
$575.00
5 Skype Lesson Pack
$575.00
-
 3 Skype Lesson Pack
$360.00
3 Skype Lesson Pack
$360.00
-
 1 hour Skype Lesson
$125.00
1 hour Skype Lesson
$125.00
-
Jazz Studios designer T-Shirt (Size medium)
$24.95
-
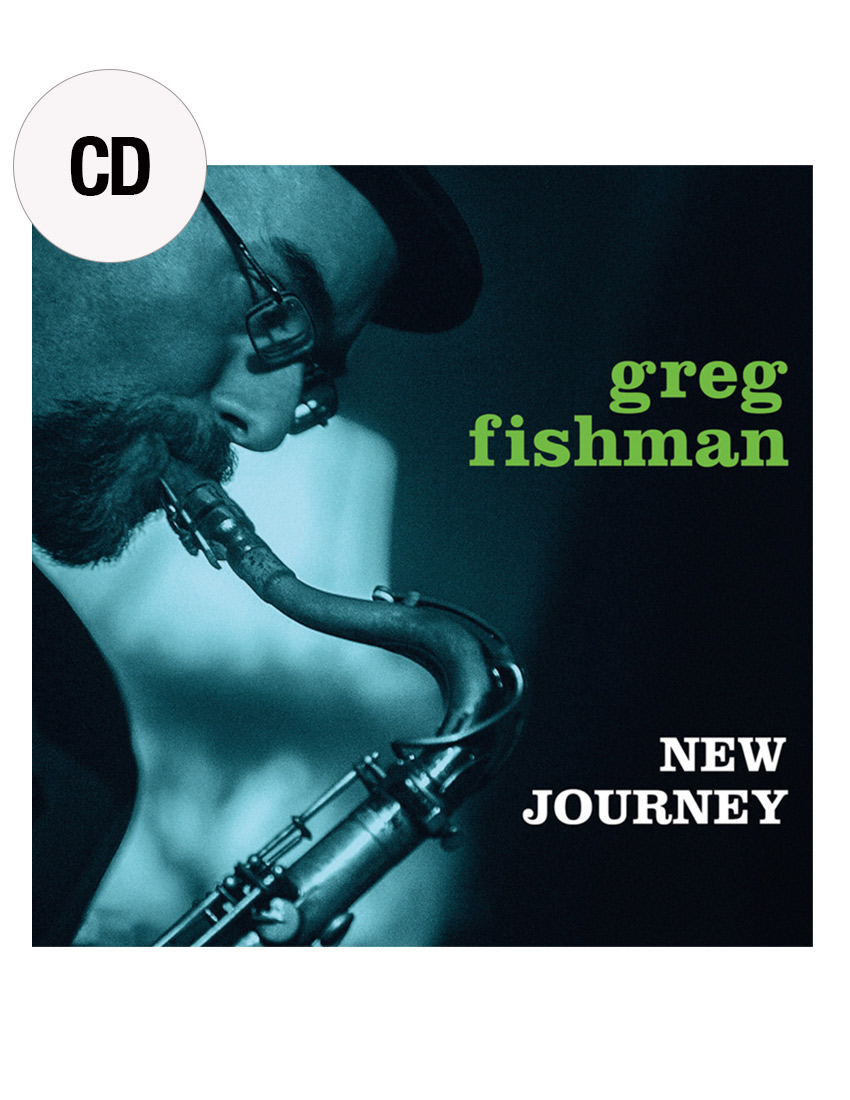 New Journey
$16.95
New Journey
$16.95
-
 Jazz Trumpet Etudes
$24.95
Jazz Trumpet Etudes
$24.95
-
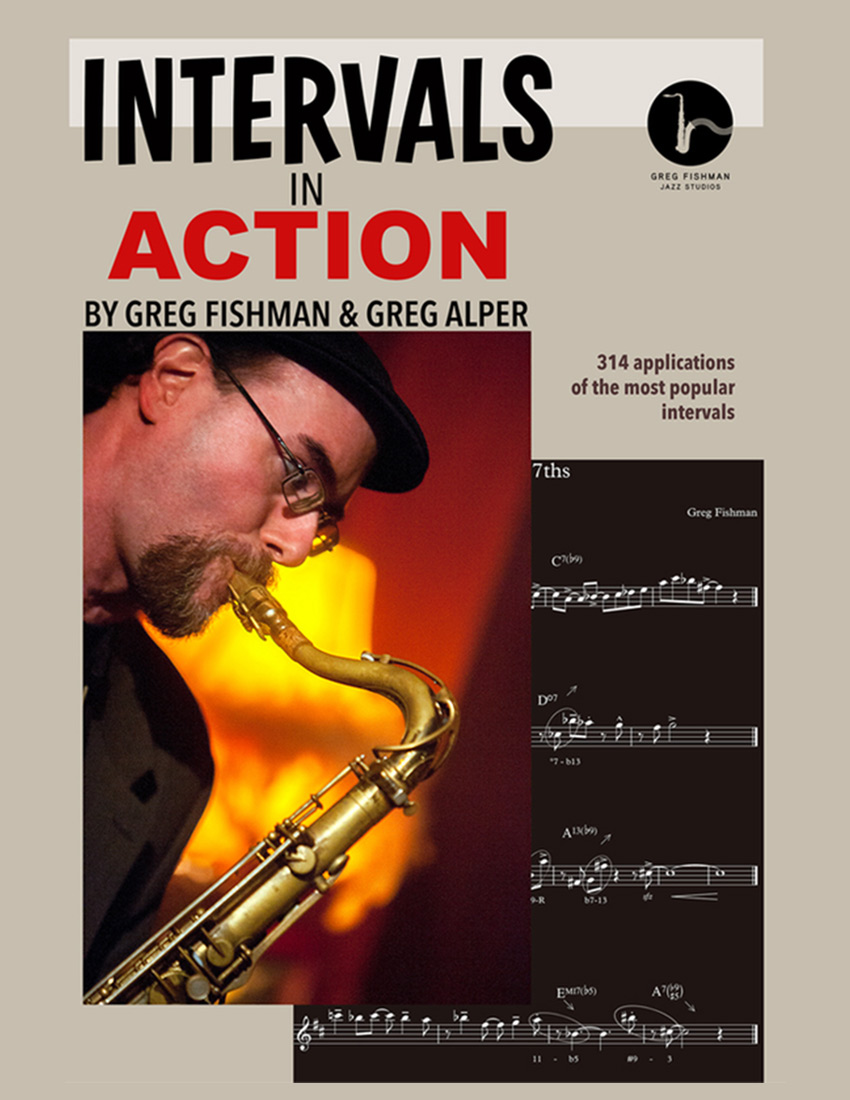 Intervals in Action
$24.95
Intervals in Action
$24.95
-
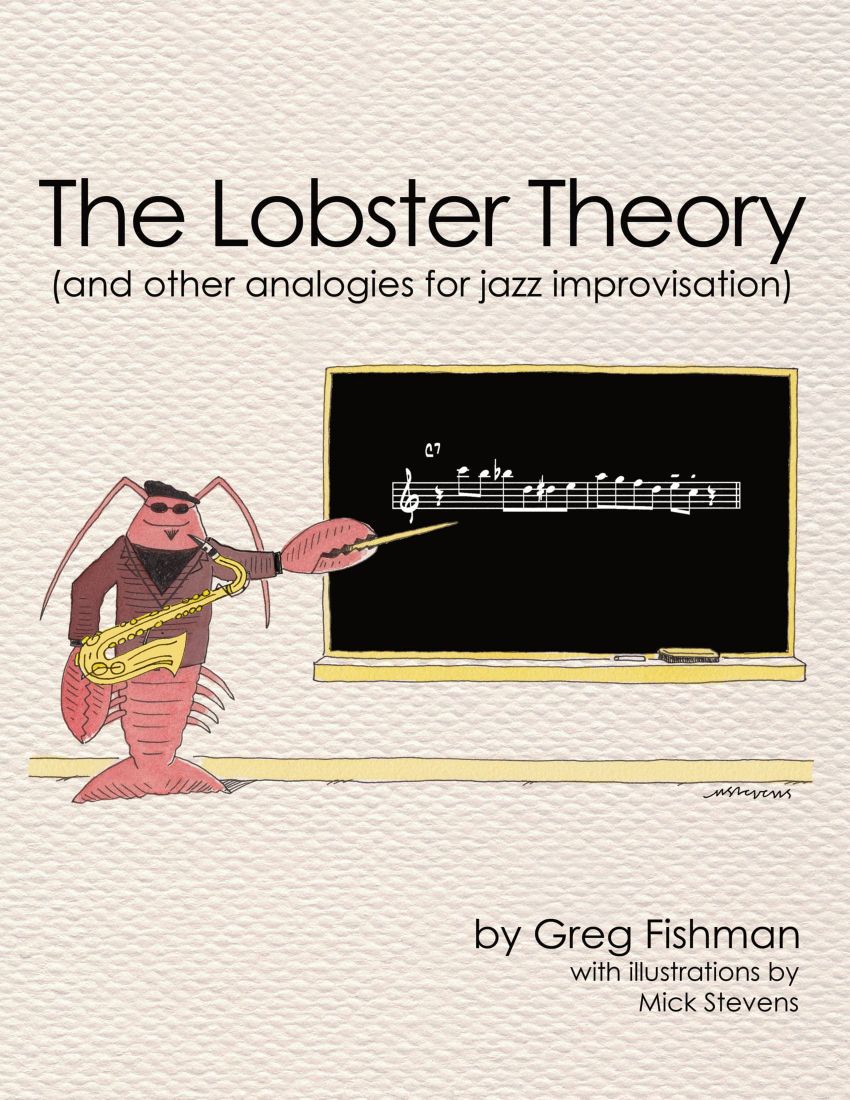 The Lobster Theory (and other analogies for jazz improvisation)
$29.95
The Lobster Theory (and other analogies for jazz improvisation)
$29.95